Build a 2D Endless Runner in Godot 4 — Part 1: The Parallax Scene
Two scripts and five PNG layers are all it takes to build a smooth infinitely scrolling parallax background from scratch — no built-in ParallaxBackground node required.
This is Part 1 of a three-part series where we build a complete 2D endless runner in Godot 4 from the ground up. By the end of Part 3 you'll have a working game with a running character, obstacles, a score counter, and a full game loop. Each part produces a runnable scene before the next layer of complexity is added.
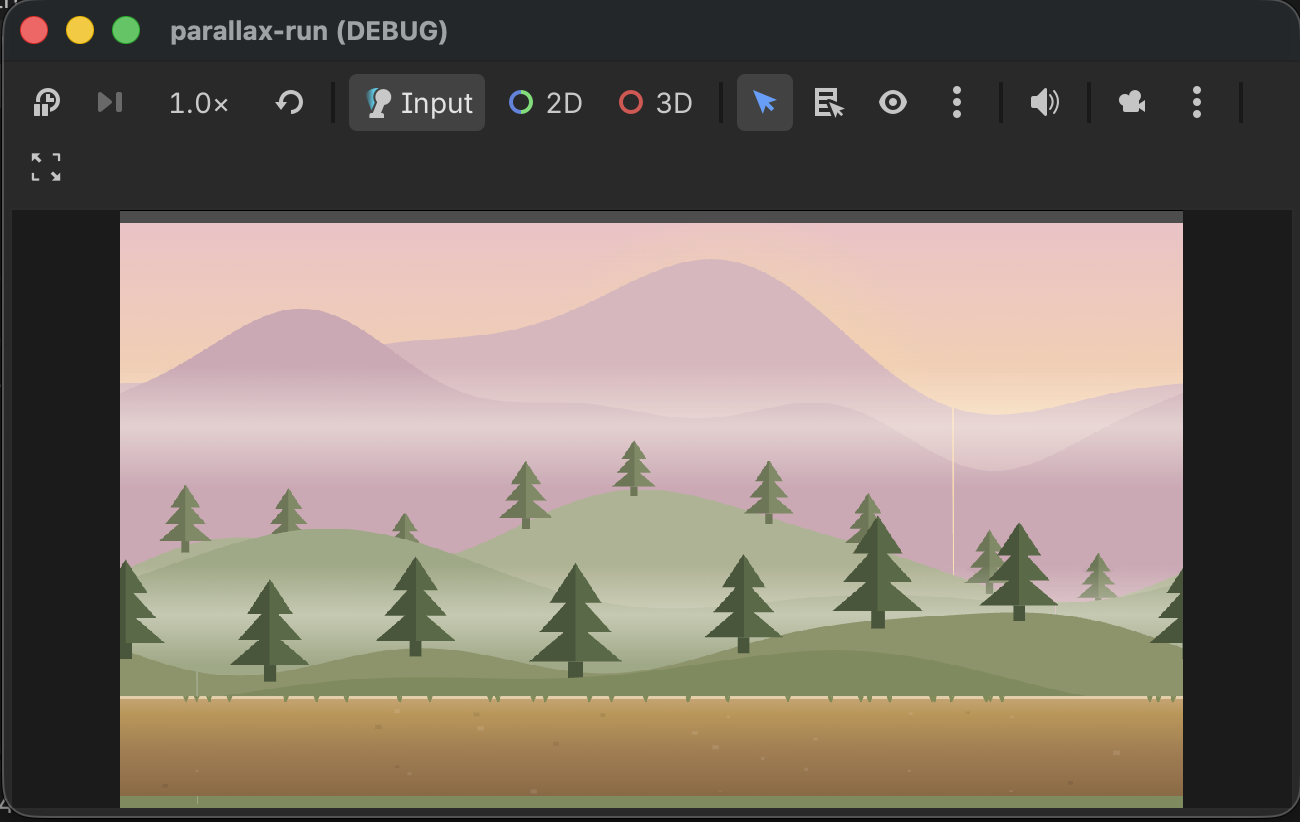
Part 1 ends with a camera that auto-scrolls right across five parallax background layers. No character yet — just the depth illusion working correctly.
The full project uses Godot 4.6.2 stable, the GL Compatibility renderer (targets web and mobile), and a 1280 × 720 viewport with stretch_mode = canvas_items.
Why skip the built-in ParallaxBackground?
Godot 4 ships with ParallaxBackground and ParallaxLayer nodes and they cover most cases. I hit three limits quickly on this project: depth ratios that are awkward to tune at runtime, tiling that requires manual sprite duplication, and no clean way to consume the raw camera delta in other scripts. The custom system is two small GDScript files and ends up more flexible than the built-in for a runner where everything depends on that delta value.
The depth formula
Every layer advances by a fraction of how far the camera moved each frame:
layer.position += camera_delta * ratio
The ratio controls perceived depth:
| Layer | Ratio | Feels like |
|---|---|---|
| Sky | 0.02 | Very distant — barely moves |
| Mountains | 0.15 | Far background |
| Hills | 0.30 | Mid-distance |
| Trees | 0.60 | Near foreground |
| Ground | 1.00 | Moves with the camera |
That's the entire system. Everything else is infrastructure to make it work cleanly.
Script 1 — ParallaxController (Autoload)
Rather than every layer polling the camera independently, one Autoload computes the delta once per frame and exposes it as a public delta variable.
# parallax_controller.gd
# Register as Autoload named "ParallaxController" in Project Settings
extends Node

var delta: Vector2 = Vector2.ZERO
var _cam: Camera2D
var _prev_pos: Vector2

func _process(_dt: float) -> void:
    if not _cam:
        _cam = get_viewport().get_camera_2d()
        if _cam:
            _prev_pos = _cam.global_position
        return
    delta = _cam.global_position - _prev_pos
    _prev_pos = _cam.global_position
Register it in Project → Project Settings → Autoload with the name ParallaxController. Any script in the project can then read ParallaxController.delta without knowing anything about which camera is active or where it lives in the tree.
One subtle point: the Autoload guards against the camera not existing yet (
if not _cam) so it degrades gracefully during scene transitions.
Script 2 — ParallaxLayer
Attach this to any Node2D that holds exactly one Sprite2D child. On _ready() it clones the sprite twice (at ±tile_width) so the layer tiles seamlessly. During _process() it advances by the camera delta × ratio, then snaps back to follow the camera whenever the offset exceeds one tile width.
# parallax_layer.gd
@tool
extends Node2D

@export_range(0.0, 1.0, 0.01) var parallax_ratio: float = 0.5
@export var infinite_horizontal: bool = true

var _tile_width: float = 0.0

func _ready() -> void:
    if Engine.is_editor_hint():
        return
    var sprite := _first_sprite()
    if not sprite or not infinite_horizontal:
        return
    _tile_width = sprite.get_rect().size.x * abs(sprite.scale.x)
    for dx: float in [-_tile_width, _tile_width]:
        var copy: Sprite2D = sprite.duplicate()
        copy.position.x += dx
        add_child(copy)

func _first_sprite() -> Sprite2D:
    for child in get_children():
        if child is Sprite2D:
            return child as Sprite2D
    return null

func _process(_dt: float) -> void:
    if Engine.is_editor_hint():
        return
    # Only apply X delta — Y must not move so the ground stays stable during jumps
    var d := Vector2(ParallaxController.delta.x, 0.0)
    position += d * parallax_ratio

    if not infinite_horizontal or _tile_width <= 0.0:
        return
    var cam := get_viewport().get_camera_2d()
    if not cam:
        return
    var cam_x: float = cam.global_position.x
    if abs(cam_x - global_position.x) >= _tile_width:
        var offset: float = fmod(cam_x - global_position.x, _tile_width)
        global_position.x = cam_x - offset
The @tool annotation makes parallax_ratio live-editable in the Inspector while the editor is open — drag the slider and the layer updates in real-time before you've even pressed Play.
The Y-axis is intentionally zeroed (Vector2(ParallaxController.delta.x, 0.0)). When we add a jumping character in Part 2, the camera will need to stay at a fixed world Y height. Without this zero, the ground layer would visually bob upward every time the player jumps.
Script 3 — AutoScroller (Phase 1 only)
For Phase 1 we don't have a character yet, so we need something to move the camera rightward. This tiny script lives on the root node and pushes the Camera2D child at a constant speed.
# auto_scroller.gd
extends Node2D

@export var scroll_speed: float = 180.0

@onready var _cam: Camera2D = $Camera2D

func _process(delta: float) -> void:
    _cam.global_position.x += scroll_speed * delta
This script gets replaced entirely in Part 2 when the player character takes over driving the camera.
Scene setup
Phase1Parallax (Node2D)  ← auto_scroller.gd
└── Camera2D             position=(640, 595)
└── BgSky (Node2D)       parallax_layer.gd, ratio=0.02
    └── Sprite2D         position=(640, 595)  texture=sky.png
└── BgMountains (Node2D) ratio=0.15
    └── Sprite2D         position=(640, 320)  texture=mountains.png
└── BgHills (Node2D)     ratio=0.30
    └── Sprite2D         position=(640, 430)  texture=hills.png
└── BgTrees (Node2D)     ratio=0.60
    └── Sprite2D         position=(640, 460)  texture=trees.png
└── BgGround (Node2D)    ratio=1.00
    └── Sprite2D         position=(640, 740)  texture=ground.png
Camera position: Lock the Camera2D at world Y=595. The 720-pixel-tall viewport then shows world Y=235 through Y=955, which frames the background layers correctly. The BgSky sprite centre sits at Y=595 so the sunrise at the top of the sky texture aligns with the viewport top edge.
Texture filter: Set texture_filter = Nearest on every Sprite2D. Pixel-art textures blur without this — it's the single most common thing I forget.
Checklist before pressing Play
ParallaxControllerregistered as Autoload- Each background layer is a
Node2Dwithparallax_layer.gdattached - Each layer has exactly one
Sprite2Dchild texture_filter = Neareston all sprites- Camera2D initial position =
(640, 595)
Press Play — the camera drifts right, the sky barely moves, the ground slides in sync with the camera. That depth gap between layers is the parallax effect working.
Next: Part 2 — Character Animation and Camera Lock adds the pixel-art fox character, a physics floor, spritesheet animation, and the camera Y-lock that keeps the viewport from bouncing when the player jumps.